Friday, July 31, 2015

Cancer Awareness Joint Blog Hop {Sparkle N Sprinkle August Reveal} (08/01/2015)

http://sparklensprinkle.com/o/product_info.php?products_id=7968

WOW! Sparkle N Sprinkle is partnering with Die Versions for a very special joint blog hop, called the Awareness Campaign. A portion of the proceeds from the sale of the newly released dies and the stamp sets revealed in the joint blog hop will go to help with cancer research.  

Almost every one of us has been touched by cancer is one way or another.  We or a family member has had cancer or we know someone who has had cancer.  The Designers from both teams are joining together to help the fight to eradicate all cancers by inspiring you.


Die-Versions is debuting NINE new Die-Versions low profile dies (July 2015 Reveal - scroll down to the end of the reveal).
Die-Versions
Sparkle N Sprinkle is revealing THREE stamp sets for this Awareness Campaign.  All stamp sets will be 20% off until Aug 3.  
Sparkle N Sprinkle
Pink Ribbon Background 408  (digi version DIGI408)
Survivor 713    (digi version DIGI713T)
Awareness 714   (digi version  DIGI714T)

A Grand Prize winner will be chosen from comments left on the Designers' blogs and will be announced on August 4th.  You won't know who the Mystery Designer is until after the Joint Blog hop, so remember to leave a comment with each of the Designers.  
 
The Winner will be announced on the Die-Versions Facebook page, the Sparkle N Sprinkle Facebook page, the DV Blog, and on the SNS Blog, and will receive a $25 gift certificate from BOTH Die-Versions and Sparkle N Sprinkle.

We hope you enjoy the Awareness Joint Blog Hop as much as we have enjoyed creating new projects for it.  We also hope that we have inspired you as well.  Thanks for joining us and remember to comment on each of the Designers' blogs to be eligible for the Grand Prize.  (We love reading them too since your comments also inspire us.)  


The Sparkle N Sprinkle Creative Challenge also begins today with lots of prizes and recognition badges.  Find out how you can become a SNS Featured Artist with special recognition on the SNS Facebook page as well as the Creative Challenge Winner's post.  From time to time, we also have special prizes just for Featured Artists.  The theme is always Anything Goes using Loose Glitter, Embossing Powder, and/or Flock.

For my reveal project, I made a card using Sparkle N Sprinkle's new Awareness 714 stamp set, along with Die Versions' Awareness Ribbon Doily Whispers DV-478, and Awareness Heart Whispers DV-484. I made this card, in light blue, to celebrate a loved one who is a prostate cancer survivor. Light blue is the ribbon color for this type of cancer.
 
http://sparklensprinkle.com/o/product_info.php?products_id=7968
 
To make this card, I used the die cuts to cut out freezer paper and used the freezer paper pieces as a mask. Freezer paper can be ironed onto paper, using medium-high heat (no steam). It will seal onto the paper. I used some water color paper, so I could add water to the background. After I ironed on the freezer paper, I blended some distress ink over the paper, sprayed on some Ken Oliver Crafts Color Burst Ultramarine Blue (KN-06066), and then spritzed it with water. This gave the card panel a lot of depth and multiple shades of blue.
 
   
After I had the background color the shades I wanted, I used my heat gun to heat up the freezer paper, which allowed the freezer paper to be released from the water color paper, and I peeled it up. If the freezer paper stopped releasing, I just hit that spot again with my heat tool until it was all peeled up.


Here is what the panel looked like, after removing all the freezer paper, which reveals the masked area, contrasted with inked and water colored background! This way of masking is amazing!
After I finished the background, I adhered strips of 1/8" Double Sided "Tear-ific Tape" (SAT02) along each edge of the card panel, and covered it with Gypsy Red Velvet Glitter (microfine) (GM2005), and burnished it in with my finger tool. I also used a glue pen to draw in glue within the little sweet hearts that are part of the Heart die, and adhered more glitter. I also used the glue pen and traced along the word "survivor" and covered it with Cloud Nine Velvet Glitter (microfine) (GM2000). It is hard to see in this photo, but it sparkles much more in real life!
http://sparklensprinkle.com/o/product_info.php?products_id=7968
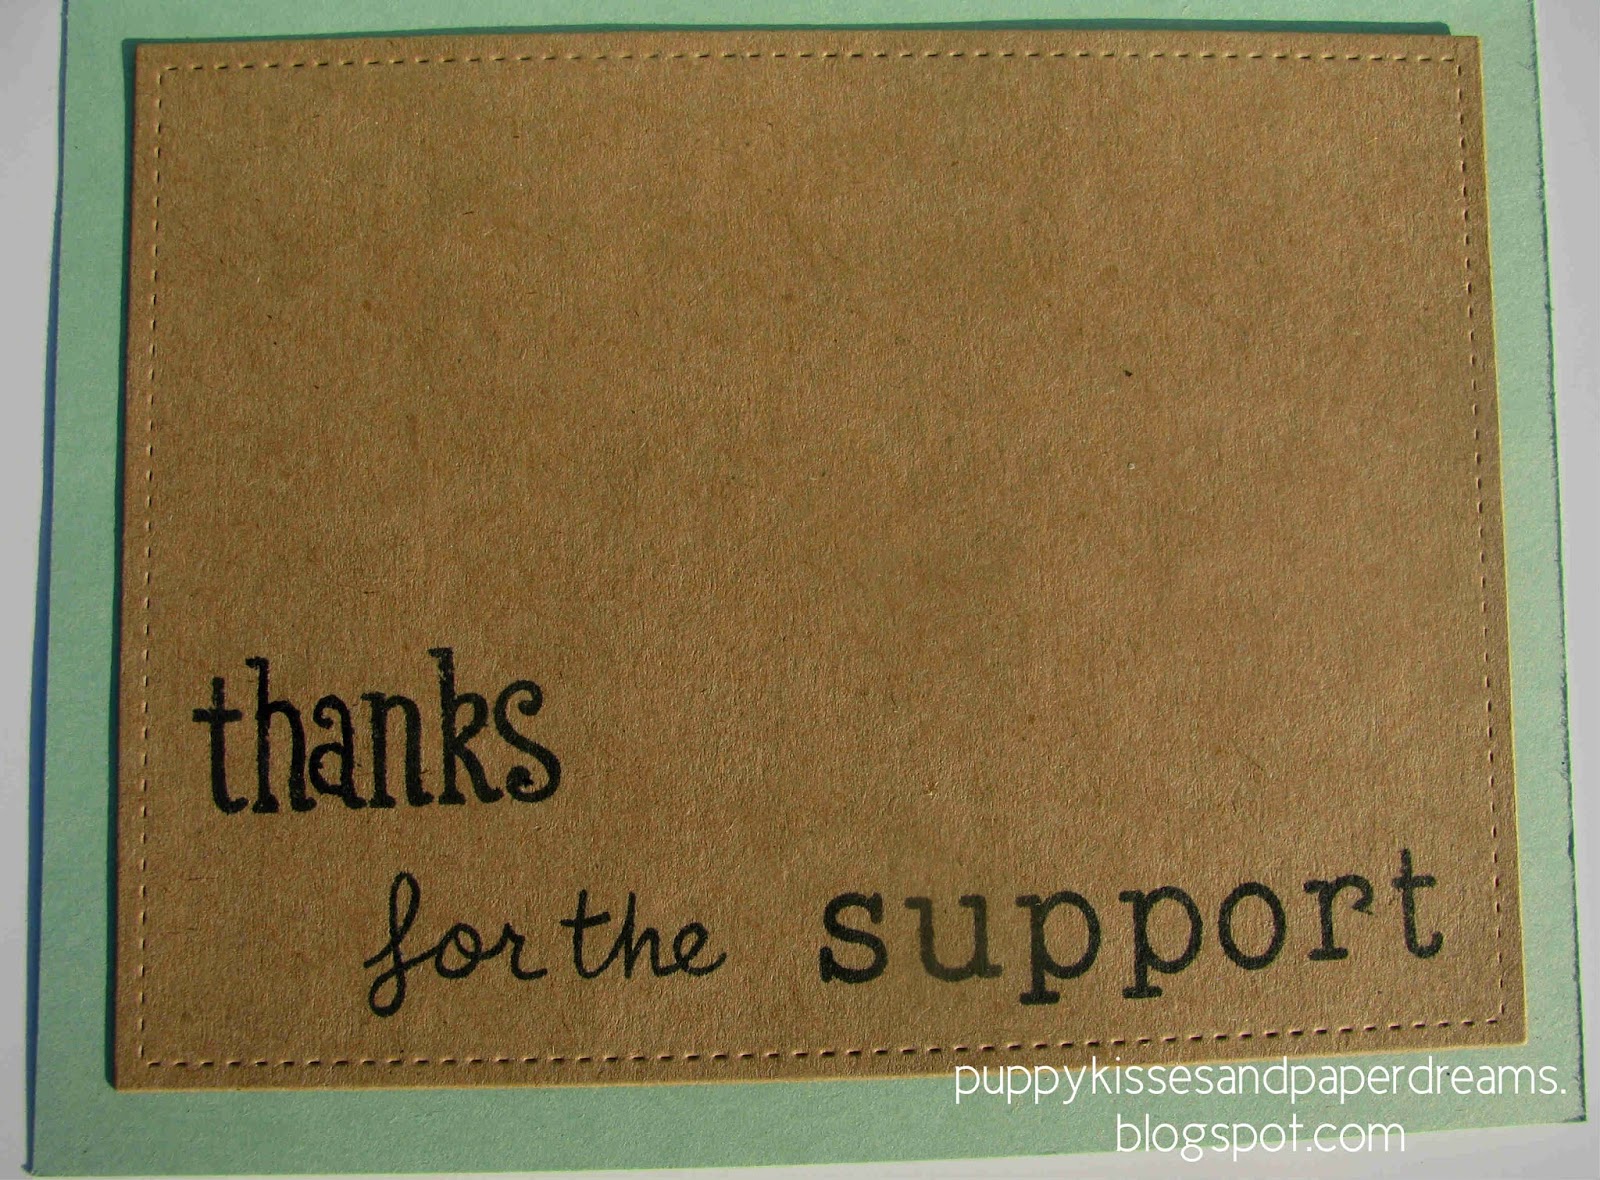
I stamped out Sparkle N Sprinkle's Awareness 714 stamp set and stamped the sentiment with Versamark Ink and then covered it with Red Apple Embossing Powder (EP276) and heat set it on a strip of white cardstock. Then, I cut a fish-tail banner and framed it with black cardstock to highlight the sentiment.
http://sparklensprinkle.com/o/product_info.php?products_id=7968

Here is another close up of the Ribbon Doily masked image, and the background coloring.
http://sparklensprinkle.com/o/product_info.php?products_id=7968

That's it for my card for this reveal - it was a fun card to make, and I would like to send hugs and love to all of us that have had cancer touch our lives, and to thank you for your support of this Awareness Campaign and your support for cancer research. Let's stop this disease as soon as we can!
 
Hopefully you came from Diane's blog.  Your next stop on the Awareness Campaign Blog Hop is Belinda.  If you get lost along the way or have a problem with a link, the complete list of Designers is located on both the Die-Versions Blog as well as the Sparkle N Sprinkle Blog. Happy Hopping!
 
Thanks for stopping by, have a magical day! 

Chris

Thursday, July 30, 2015

Alaska Thanks (07/30/2015)

Today's card is a Thank You card. Let's dive right in, shall we?


This card was a Thank You card I made and sent to the staff at a hospital. My Dad, who is from Alaska, had to have surgery recently. He flew from Alaska to Seattle for surgery, and I was lucky enough to accompany him for this experience. During his few days in the hospital, he regaled the staff with stories about living in Alaska, so I figured a card highlighting the animals and beauty of Alaska would be fun. I pulled out a ton of Lawn Fawn Critters stamp sets, and went to town! I also used Lawn Fawn's Scripty Thanks die for the sentiment on the cover. I cut out one of the thanks from white cardstock, and colored it with Copic markers. I covered another piece of cardstock with Sparkle N Sprinkle's 2-1/2" Double Sided Tear-ific Tape (SAT11), pulled off the release paper, and covered the sentiment with Sparkle N Sprinkle's Jasper Blue - Velvet Glitter (microfine) (GM2012), and burnished it in with my finger tool. I layered the two sentiment die cuts together, and offset the colored one to help frame the glitter one. Here is the sentiment. Check out that incredible sparkle!

One of the most iconic animals in Alaska is the moose! I used the moose stamp in Lawn Fawn's Critters in the Arctic stamp set. After stamping the moose in Tuxedo Black Memento ink (very Copic friendly-ink), I colored the moose with Copic markers and then covered the moose's nose and antlers with Sparkle N Sprinkle's Sparkling Sands Sparkle N Soft (SS118) which made them fun! 

I also used the walrus from Lawn Fawn's Critters in the Arctic set too, along with the ice stamp. After coloring both with Copics, I covered the ice image with Wink of Stella Clear to make the ice sparkle, then covered it with glossy accents clear glue to give it more depth and shine.

The sweet owl from Critters in the Arctic was colored blue with Copics and then strategically covered with Olaf White (which has a slight blue sparkle), which is a glitter part of Sparkle N Sprinkle's Frozen Glitters set (G1125).

I stamped out a bunch of trees, from Lawn Fawn's Happy Trails stamp set. Colored them with Copics, then added in some Sparkle N Sprinkle's Easy Green Semi-transparent Glitter (G1077), using a glue pen. 


The silly little bunny is also from Lawn Fawn's Critters in the Arctic. Colored him with Copics, then added in Wink of Stella Clear to his scarf to make it shine a bit, and added Sparkle N Sprinkle's Bubble Gum Semi-transparent Glitter (G1088)

The prickly porcupine was from Lawn Fawn's Critters in the Forest set. He was colored and then covered with Sparkle N Sprinkle's Buff Flocking. This made the body part of the porcupine a little softer than his quills!

And of course, you can't think about Alaska without thinking about a grizzly or brown bear ... so, here he is! He is stamped from Lawn Fawn's Critters in the Snow. I think the stamp is a polar bear, but he has been colored and repurposed to be a grizzly or brown bear.

And, Alaska is full of gorgeous, glittery dragon flies. I stamped out the cute lil' dragon fly from Lawn Fawn's Critters in the Forest stamp set. Again, I colored him with Copics, then added in some Sparkle N Sprinkle Surf Semi-transparent Glitter (G1117) to make him pop and sparkle!

I stamped the inside of the card with a lot of Lawn Fawn thanks stamps. I loaded up random stamps onto a block, and stamped them all along the edges of the inside card panel. When I stamp a pattern, I always make sure I stamp images/sentiments off the edge of the page too, to make it look more natural. This is what the inside looks like.

A closeup of the stamping on the inside.

The nursing staff at the hospital was amazing, and they really helped make a potentially scary situation actually fun and exciting. They were very patient, supportive, and professional. I really wanted to let them know how much their kindness made a difficult situation easier. Thank you! And, Dad has successfully recovered from his surgery, and is getting stronger every day!

Thanks for stopping by, have a magical day! 

Chris

Wednesday, July 29, 2015

Sunset Reindeer (07/29/2015)

Today's card is full of sparkle! I used Sparkle N Sprinkle's Reindeer Stamp Set 722P7 and Tree Scene Stamp Set 723P5 to create a sunset scene. Let's peek, shall we?

http://sparklensprinkle.com/o/product_info.php?products_id=8033

In the Reindeer Stamp Set, one of the reindeer is a silhouette, but I wanted both of these reindeer to be silhouettes, backlit by the sunset. So, I stamped out the smaller reindeer, which is an outline stamp, and then fully colored in the reindeer with black Copic marker, to make it solid black. I fussy cut out both deer to get their silhouettes. 
http://sparklensprinkle.com/o/product_info.php?products_id=8033

I stamped the trees out twice. The first one was over white cardstock, so I could color in the trees, then the second was on green cardstock. Both were stamped with Versamark Ink Pad (VM-001) and then I used White Detail Embossing Powder (EP298) and heat set the images. After this, I used my SNS Brushable Glue 540 and covered parts of the trees with the glue. I adhered Swan Wing GT3002 to the glue, which really made the trees sparkle and shine!   
http://sparklensprinkle.com/o/product_info.php?products_id=8028

The sentiment was from the Reindeer Stamp Set 722P7. I die cut some white cardstock, and used distress ink and a blending tool to add in some color, while the paper was still inside the die. This gave me the white outline/edge around the sentiment. I stamped the sentiment with Versamark Ink Pad (VM-001) and used White Detail Embossing Powder (EP298). After tht was done, I applied Versamark Ink to the entire piece of paper and covered it with Sparkle Semi-transparent Embossing Powder (EP 107) to give it an overall sparkle and shine too.
http://sparklensprinkle.com/o/product_info.php?products_id=8033

Once all my parts were done, I covered a large piece of cardstock with 2-1/2" Double Sided Tear-ific Tape (SAT11). I pulled off the release paper, and covered the taped cardstock with Evening Glow Semi-transparent Glitter (G1086). This made the sunset background. You can see in the photo below, how sparkly and PERFECT this glitter is, for a sunset! I love it!
http://sparklensprinkle.com/o/product_info.php?products_id=8033

To finish off the scene, I made glitter snow. I used strips of 1/4" Double Sided "Tear-ific Tape" (SAT01) along with Twinkling Clouds Sparkle N Soft (SS107). To make the glitter ribbons, I cut about an 8" strip of 1/4" tape, then removed the release paper on top of the tape. I dredged it through a pile of Twinkling Clouds Sparkle N Soft, and burnished in the Twinkling Clouds using my finger tool. Once the front side of the tape was all covered in the Sparkle n Soft, then I removed the back layer of release paper, and did the same thing to the other side. This makes a wonderful glitter ribbon! Then, I layered more tear-ific tape onto my cardstock panel, and then bunched up and adhered the glitter ribbon onto the tape to stick it to the panel. The bunching made the snow have dips and valleys, and made it look real, and sparkly all at the same time!
http://sparklensprinkle.com/o/product_info.php?products_id=8033


This was a fun card, and I hope that it makes you think fondly of our winters and beautiful sunsets and sparkling snow banks!

Thanks for stopping by, have a magical day! 

Chris

Friday, July 24, 2015

Funny Farm Goose (07/24/2015)

Hi from Chris. This silly goose, from Sparkle N Sprinkle's Christmas Goose Stamp Set 721, is definitely from the funny farm :) This goose, all tangled up in holiday lights makes me laugh and smile. I just had to make him all sparkly and glowy. Here he is:
15-0724_01_FunnyFarmGoose_Front
I wanted to focus on the lit up goose, so the rest of the card is clean and simple. First, I stamped the goose with black ink and then colored in the goose, his socks and hat, and lights with Copic markers.
15-0724_02_FunnyFarmGoose_Hat
For each of the lights, I colored them with two different shades (a light and a dark) for each of the colors. The outer, lighter ring of the light was intended to make the light "glow" a bit. After all the coloring was done, I stamped the entire cardstock panel with Versamark Ink and then covered it completely with Sparkle Semi-transparent Embossing Powder (EP107) and heat set the embossing powder. This made the entire goose and background sparkle!
15-0724_03_FunnyFarmGoose_BulbGlow
After covering the entire panel with the sparkle embossing powder, I added dimension to each of the lights by dotting on Dimensional Glue (539) to each light bulb and then adhered glitter to each light, in these colors: Gypsy Red Velvet Glitter (microfine) (GM2005), Tiger Orange Velvet Glitter (microfine) (GM2003), Aztec Gold (G1006), Luau Green Velvet Glitter (microfine) (GM2004), Jasper Blue Velvet Glitter (microfine) (GM2012), and Purple Rain Velvet Glitter (microfine) (GM2020). This photo helps show the dimension:
15-0724_04_FunnyFarmGoose-LightDimension
To keep the rest of the card clean and simple, I stamped one of the sentiments from the Christmas Goose Stamp Set 721. There are several awesome sentiments in the set, but I used: Season's Greetings from the funny farm, which perfectly captured this goose! I stamped the sentiment with Versamark Ink and then covered it with White Detail Embossing Powder (EP298) and heat set it. Here is a close-up of the sentiment:
15-0724_05_FunnyFarmGoose_Sentiment
Here is another angle of the goose and his glowing lights:
15-0724_06_FunnyFarmGoose_Sparkle
A better close-up of the dimension on the glitterly and glowy lights:
15-0724_07_FunnyFarmGoose_MoreSparkle
This funny farm goose makes me chuckle, and I hope he has made you smile today too. 

Thanks so much for stopping by, have a magical day! - Chris

Thursday, July 23, 2015

Hello Card (07/23/2015)

We all need more sparkle in our lives! I had a great visit with a friend, and made her a Hello card to say thanks for the wonderful visit. Here is the card I made for her:


I made this card with a Lawn Fawn Navy Notecard as my card base. I used Lawn Fawn's Stitched Journaling Card die to cut out the cloud sky background paper.  I stamped out the polar bear from Lawn Fawn's Critters in the Snow, and colored him with Copic markers to make him more of a brown bear instead of a polar bear. He has a little tree from Happy Trails behind him to help set the scene. The ground was created by cutting some Lawn Fawn paper with the Stitched Hillside Borders die.    

I also used Lawn Fawn's dragonfly stamp from the Critters in the Forest stamp set to make it even more fun. I colored the dragonfly with Copics, and covered him with a little bit of glitter, to make him sparkle on his wings.

I used Lawn Fawn's Scripty Hello to make the sentiment. I cut one of the hellos from white cardstock and colored it blue with Copic markers. The second hello was cut from cardstock covered with Sparkle N Sprinkle's 2-1/2" Double-sided Tear-ific Tape (SAT11). After cutting this piece, I removed the release paper and adhered Sparkle N Sprinkle's Surf Semi-transparent Glitter (G1117). I layered the two together offset a bit to help frame the sentiment. 
 

I hope my friend enjoyed this card. Sure was a wonderful evening spent with her catching up and sharing love and laughter.

Thanks for stopping by, have a magical day! 

Chris

Wednesday, July 22, 2015

Stylish Chick (07/22/2015)

Hi! Today I am featuring Sparkle N Sprinkle's Birds of a Feather Stamp Set 726. The two new July mid-month reveal stamp sets are so cute, and I am over the moon with both of them. I wanted to use the large chick from the Birds of a Feather set, and dress her up all stylishly.
15-0722_01_StyleChick_Front

I stamped her out on watercolor paper with black pigment ink, and sprinkled Clear Detail Embossing Powder (EP280) over it and heat set it with my heat gun. I colored her using watercolor brush markers. After she dried, I fussy cut her out and used Brushable Glue (540) and dotted her pearls and shoes with glue, and sprinkled Blue Lightning (G1008) onto the glue. This made her shoes and pearls POP just a bit more! Check her out:
15-0722_03_StyleChick_Chick

Since she had great style, she needed a little bit of a sassy background as well. I pulled out more watercolor paper and made a background. First, I sprayed some Ken Oliver Crafts Color Burst in Ultramarine Blue (KN-06066) and then spritzed it with water. This made the watercolor powder burst out into vibrant splashes of intense blue! After drying, I layered a swirly dot stencil over it and applied Dreamweaver Translucent Embossing Paste (dr-dtep) through the stencil to create the translucent dots. As soon as I was done with this step, I removed the stencil and dusted Bridal Glitter (G1029) onto the wet paste. (NOTE: If you use embossing paste, you should immediately rinse your stencils in warm soapy water to remove the paste before it dries!) This made a bit of a colorful and shimmery background.
15-0722_02_StyleChick_Background

I used the "to a chick with style" sentiment from the Birds of a Feather Stamp Set (726) for this card because it captured her perfectly! I wanted to keep the background and not cover it up. So, I whipped out a strip of vellum, stamped with Versamark Ink Pad (VM-001) and covered it with Black Detail Embossing Powder (EP171) and heat embossed it. I wrapped the ends of the vellum underneath the panel, and adhered them to the back with 1/2" Double-Sided "Tear-ific" Tape (SAT04) so the adhesive doesn't show through the vellum. After the background and sentiment were done, I added on the stylish chick onto it with foam dots to pop her up a little bit. This is what it looked like:
15-0722_06_StyleChick_SentimentOnVellum

I used strips of 1/2" Double-Sided "Tear-ific" Tape (SAT04) and edged a piece of cardstock, cut one inch larger than the watercolor paper panel with the chick. After adhering all the strips down, I covered them with Misty Blue Glitter (G1021) and layered the chick panel onto the glitter-edge panel. I framed this panel with a black cardstock panel, cut about 1/8" larger, to make a very thin frame border.
15-0722_04_StyleChick_BlueGlitterFrame

To finish off the card, I pulled out some paper flowers from my stash. These flowers were flat. I edged them with distress ink, rolled them around with my flower molding stylus, and layered them up to make a dimensional flower, using liquid glue to hold the layers together. Then, I brushed on some Brushable Glue (540) and sprinkled more Bridal Glitter (G1029) onto each flower. I adhered the flowers to the card, and this little chick was ready to go!
15-0722_05_StyleChick_Flowers

I know you will love this stamp set! I have had so much fun with it! Thanks for stopping by, have a magical day! - Chris

Sunday, July 19, 2015

Thanks Coach For Your Support! (07/19/2015)

Today's card is a sweet little card that I made for my Coaches and Mentors for my Triathlon training group. We have been training for the last five months, six days a week, and we have come so far. It was so much fun, and I wanted my Coaches and Mentors to know how much I appreciate their hard work, advice, friendship, guidance, and support during our training, and recent race. Here is the card I made for each of them:

I scraplifted this idea from Sandy Allnock's Magical Monday video. I used Lawn Fawn's Life is Good stamp set and dies. I did a lot of masking on this card. I stamped out all the images on post it note paper, first to create masks. My plan was to stamp each image on the card panel, then masked it so I could stamp the next image. I adapted Sandy's image a bit, but I was intrigued about the way she hung the hammock between the two buildings. I wanted to thank my Coaches and Mentors for their support, so this seemed fitting. I adapted Sandy's idea and hung the hammock between two trees. To do this, I first stamped out the crab, masked him, then stamped the hammock underneath him. I also stamped the ground twice. After that, I masked the ground and stamped a tree on either side of the hammock ends. While the ground was still masked, I added in the castle. It was really fun to do this! I love the scene that came about with the masking.

After stamping everything, I colored the images with Copic markers. After coloring the images, I covered the crab and hearts with a Wink of Stella Clear shimmer pen, and then covered the crab with a glossy clear glue to add dimension and shine. Here is a picture of the sweet little crab on his hammock.

The trees and castle were fun to color too.
The sand was fun to color too. I colored it with a few colors of Copic markers, then came in and dotted the sand a little bit with darker browns to get some texture. After coloring the entire image on a card panel, I cut out the image using one of Lawn Fawn's Large Stitched Rectangle Stackables and Small Stitched Rectangle Stackables dies. I also cut out a black cardstock frame with the next largest size of the rectangle dies as well, and layered these together on top of a card base.
I carried the these into the inside of the card. I used some Lawn Fawn stamps to create the sentiment inside "Thanks for your support" using several sets, including Clark's ABCs to spell out "support."
 Here is a closeup of the sentiment, including the stitched rectangle lines too.

I have the best team in the world. Here are my teammates, coaches and mentors getting ready for the Triathlon. It was a fabulous day. Thanks Coaches and Mentors for everything!
 Thanks for stopping by, have a magical day! 

Chris