Today's project is a shaker ornament, using the new Violets For You, one of the stamps in Sparkle N Sprinkle's December release. This stamp set has a gorgeous image of a violet plant in a pot, a stand alone violet and leaves, and a sweet butterfly. Let's check out what I made, using this gorgeous stamp set!

I stamped the image onto Embossable Acetate. I used my Tim Holtz Stamp Platform. I treated the acetate with my Anti Static Bag and inked up my stamp with Versafine Black Onyx ink. I stamped the image onto the acetate, sprinkled on Sparkle embossing powder and heat set it. The Sparkle embossing powder is clear with sparkly glitter. It is so much fun, and packs an extra punch from just Clear embossing powder. I use it a lot! After stamping and heat embossing, I turned my stamped acetate over, and painted on some Brushable Glue to the backside of the stamped image. I brushed glue on the leaves area, then sprinkled on Gecko glitter. After it dried, I brushed on Brushable Glue to the violets. I brushed the "inside" of the petals and sprinkled on Caspia Sea glitter. Then, I did the outer edges of the violets by brushing on more glue and sprinkling on Purple Fig glitter. I used Butterscotch glitter for the inner part of the flowers. For the pot, I sprinkled on Peruvian Lily and Tiger Orange. The sentiment was heat embossed with Royal Purple, after treating some cardstock with the Anti Static Bag, and stamping it with Versamark ink.

I created a shaker by die cutting ovals using the Mixed Edge Oval Layering Basics Die set from Tonic, using fun foam. I layered these ovals together to create the "height" for the shaker. I die cut an oval from cardstock (without the "inner" part cut out) and used it for the back of the shaker. I layered the oval fun foam and adhered them together with Nuvo Deluxe Adhesive. For the top layer, I die cut another oval, with the "inner" part cut out, from chipboard. I inked up the chipboard with Versamark Ink, and sprinkled on White Detail embossing powder and heat set it. I did this several times to get a solid coat over the chipboard. Then, I stamped the butterfly with Versamark Ink all around the oval frame, and sprinkled on Wisteria and Amethyst embossing powders to create lots of butterfly images on the frame. I sprinkled on some Super Thick White in random places and heat embossed it. I did this just to give some extra depth to the images and background. I also stamped out some butterflies on patterned paper and heat embossed them with the Wisteria and Amethyst embossing powders. I fussy cut those and layered them around the frame too. I used an assortment of HAI sequins for the shaker bits. This photo shows several of them.

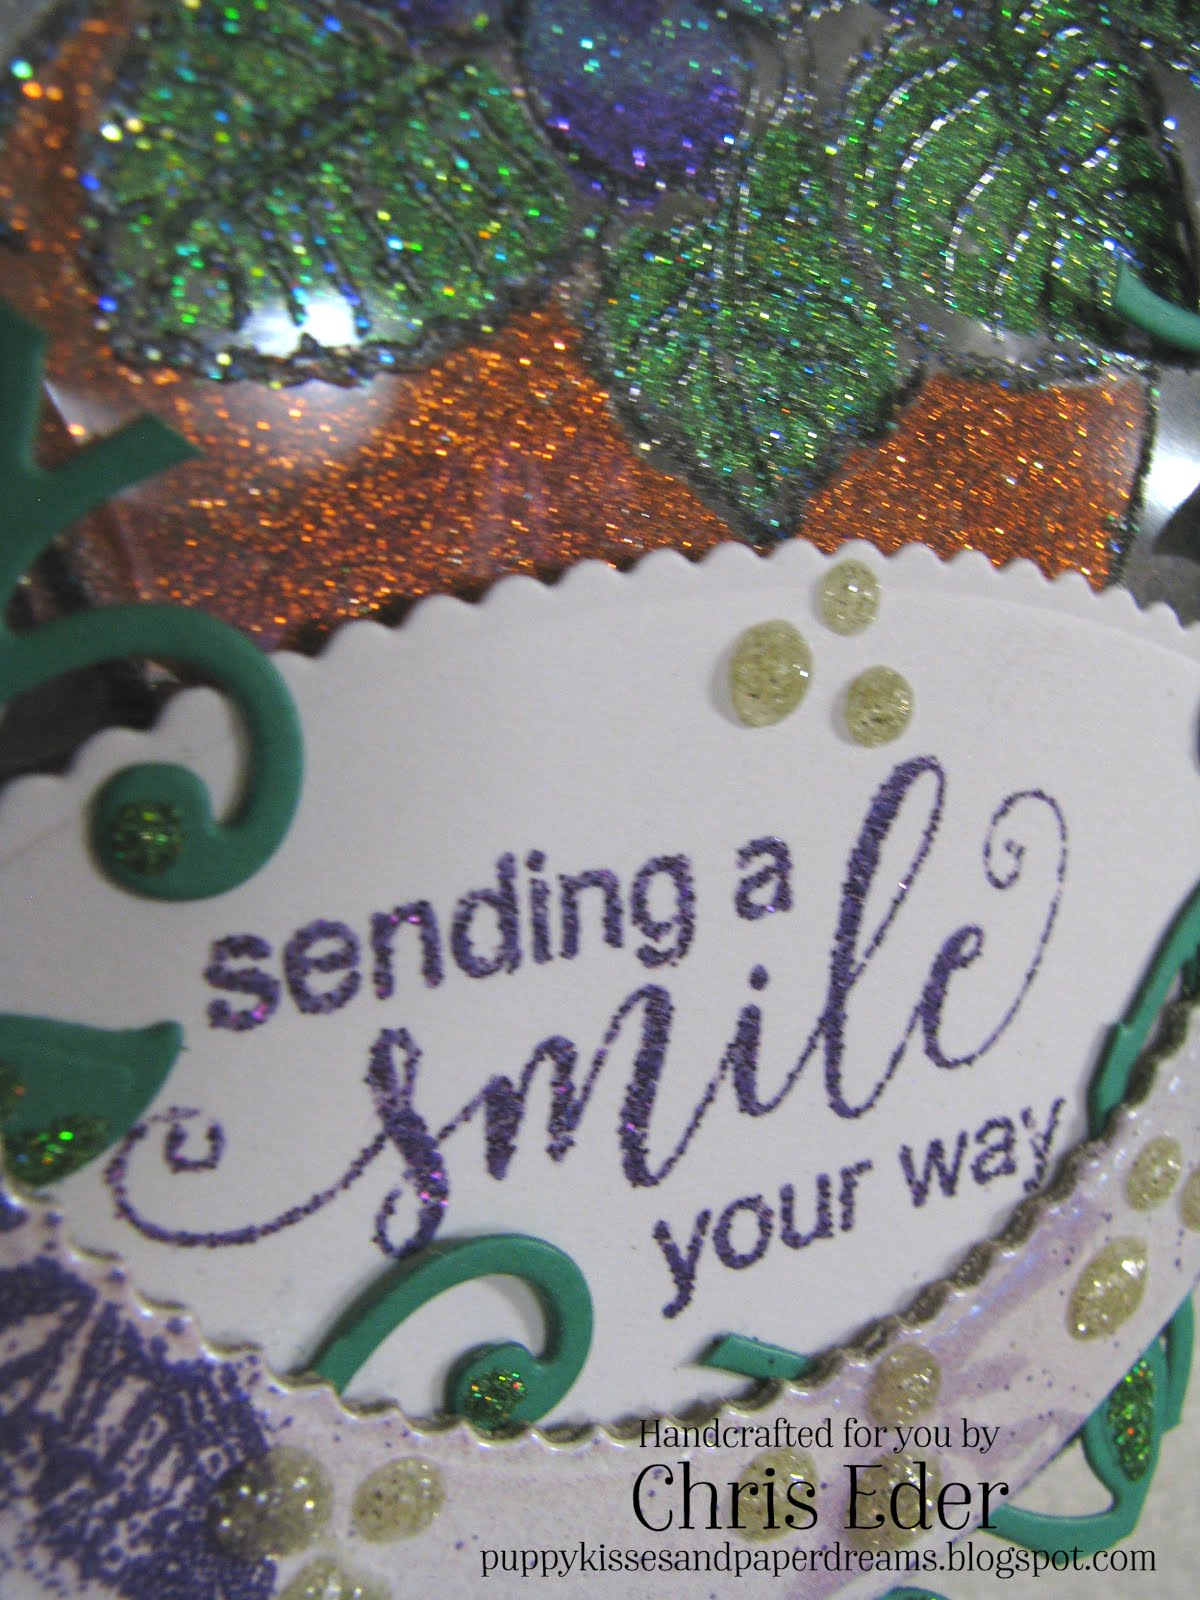
Here is another view of the ornament. When I finished it, I squeezed on some Nuvo Gold Coast Glitter Drops. And, as I finished off the ornament, I thought I needed something a bit more. So, I die cut some green cardstock using the Clematis Vine Simply Screen. I rolled on some Nuvo Smooth Precision Glue Pen and sprinkled on some Gecko glitter. I layered these vines under the frame to give the ornament some extra flair.

I really like that this beautiful stamp set can be used in many ways, including making an ornament or wall hanging! I look forward to seeing what you create - make sure to enter your creations in the Sparkle N Sprinkle Creative Challenge, found both on our blog and on Facebook.
Thanks for stopping by. Have a magical day!
-Chris
Sparkle N Sprinkle compensated links are used when possible.
This blog post first appeared on Sparkle N Sprinkle's blog.

Supply List:
Sparkle N Sprinkle products:
Violets for You stamp set [00-925P5]
Sparkle [EP107]
Amethyst [EP199]
Royal Purple [EP275]
White Detail [EP298]
Super Thick White [EP355]
Wisteria [EP358]
Tiger Orange [GM2003]
Peruvian Lily [GM2014]
Gecko [GM2045]
Purple Fig [GM2047]
Caspia Sea [GM2048]
Butterscotch [GM2051]
Clear Embossable Acetate [99602]
Anti Static Bag [99512]
3/4" Tearific Tape [SAT05]
Brushable Glue [540]
Glitter Brush [SG1400]
Other products:
Tim Holtz Media Tool Set [2124e]
Tim Holtz Glass Mat [1914e]
Tonic 12" Advantage V Blade Trimmer [159e]
Tonic Tangerine [138e]
Tonic Clematis Vine Simply Screens [1047e]
Tonic Mixed Edge Oval Layering Basics Die Set [1456e]
Nuvo Gold Coast Glitter Drops [770N]
Nuvo Deluxe Adhesive [200N]
Nuvo Smooth Precision Glue Pen [206N]
Hai Round Embossed Sequins [Q6-001]
Hai Rainbow Rhinestones [SEQM-015]
Hai Diamonds Sequins 3mm [Q3-006]
Versamark ink [VM-001]
Versafine Black Onyx ink [VF-82]
Violets for You stamp set [00-925P5]
Sparkle [EP107]
Amethyst [EP199]
Royal Purple [EP275]
White Detail [EP298]
Super Thick White [EP355]
Wisteria [EP358]
Tiger Orange [GM2003]
Peruvian Lily [GM2014]
Gecko [GM2045]
Purple Fig [GM2047]
Caspia Sea [GM2048]
Butterscotch [GM2051]
Clear Embossable Acetate [99602]
Anti Static Bag [99512]
3/4" Tearific Tape [SAT05]
Brushable Glue [540]
Glitter Brush [SG1400]
Other products:
Tim Holtz Media Tool Set [2124e]
Tim Holtz Glass Mat [1914e]
Tonic 12" Advantage V Blade Trimmer [159e]
Tonic Tangerine [138e]
Tonic Clematis Vine Simply Screens [1047e]
Tonic Mixed Edge Oval Layering Basics Die Set [1456e]
Nuvo Gold Coast Glitter Drops [770N]
Nuvo Deluxe Adhesive [200N]
Nuvo Smooth Precision Glue Pen [206N]
Hai Round Embossed Sequins [Q6-001]
Hai Rainbow Rhinestones [SEQM-015]
Hai Diamonds Sequins 3mm [Q3-006]
Versamark ink [VM-001]
Versafine Black Onyx ink [VF-82]
I stamped the image onto Embossable Acetate. I used my Tim Holtz Stamp Platform. I treated the acetate with my Anti Static Bag and inked up my stamp with Versafine Black Onyx ink. I stamped the image onto the acetate, sprinkled on Sparkle embossing powder and heat set it. The Sparkle embossing powder is clear with sparkly glitter. It is so much fun, and packs an extra punch from just Clear embossing powder. I use it a lot! After stamping and heat embossing, I turned my stamped acetate over, and painted on some Brushable Glue to the backside of the stamped image. I brushed glue on the leaves area, then sprinkled on Gecko glitter. After it dried, I brushed on Brushable Glue to the violets. I brushed the "inside" of the petals and sprinkled on Caspia Sea glitter. Then, I did the outer edges of the violets by brushing on more glue and sprinkling on Purple Fig glitter. I used Butterscotch glitter for the inner part of the flowers. For the pot, I sprinkled on Peruvian Lily and Tiger Orange. The sentiment was heat embossed with Royal Purple, after treating some cardstock with the Anti Static Bag, and stamping it with Versamark ink.
I created a shaker by die cutting ovals using the Mixed Edge Oval Layering Basics Die set from Tonic, using fun foam. I layered these ovals together to create the "height" for the shaker. I die cut an oval from cardstock (without the "inner" part cut out) and used it for the back of the shaker. I layered the oval fun foam and adhered them together with Nuvo Deluxe Adhesive. For the top layer, I die cut another oval, with the "inner" part cut out, from chipboard. I inked up the chipboard with Versamark Ink, and sprinkled on White Detail embossing powder and heat set it. I did this several times to get a solid coat over the chipboard. Then, I stamped the butterfly with Versamark Ink all around the oval frame, and sprinkled on Wisteria and Amethyst embossing powders to create lots of butterfly images on the frame. I sprinkled on some Super Thick White in random places and heat embossed it. I did this just to give some extra depth to the images and background. I also stamped out some butterflies on patterned paper and heat embossed them with the Wisteria and Amethyst embossing powders. I fussy cut those and layered them around the frame too. I used an assortment of HAI sequins for the shaker bits. This photo shows several of them.

Here is another view of the ornament. When I finished it, I squeezed on some Nuvo Gold Coast Glitter Drops. And, as I finished off the ornament, I thought I needed something a bit more. So, I die cut some green cardstock using the Clematis Vine Simply Screen. I rolled on some Nuvo Smooth Precision Glue Pen and sprinkled on some Gecko glitter. I layered these vines under the frame to give the ornament some extra flair.

I really like that this beautiful stamp set can be used in many ways, including making an ornament or wall hanging! I look forward to seeing what you create - make sure to enter your creations in the Sparkle N Sprinkle Creative Challenge, found both on our blog and on Facebook.
Thanks for stopping by. Have a magical day!
-Chris
Sparkle N Sprinkle compensated links are used when possible.
This blog post first appeared on Sparkle N Sprinkle's blog.


