Showing posts with label Lawn Fawn. Show all posts

Sunday, April 21, 2019

Little Flowers Birthday Card

Hello! Today's card is a birthday card for a dear friend ... I wanted to do something happy and bright, and this card was what I created. I used the current Lawn Fawnatics Challenge: Card Sketch as the inspiration, and I will be entering it into that challenge too. I am on a total Quilted Backdrop kick right now and die cut it from white cardstock, and layered it over some orange cardstock as a base. I also used Lawn Fawn's Little Flowers die cuts and Grassy Borders to create the center image. I die cut Lawn Fawn's Happy Birthday Border in two colors and glued them to the image too. And, stamped out a sentiment from a Lawn Fawn stamp set, and banner, and die cut the banner.

Supply List:
Lawn Fawn Little Flowers dies
 Lawn Fawn Quilted Backdrop die
Lawn Fawn Happy Birthday Border die
Lawn Fawn Grassy Border die
Lawn Fawn Large Stitched Circle Stackables dies
Lawn Fawn Stitched Rectangles Stackables dies
Lawn Fawn Happy Happy Happy stamp set
Lawn Fawn inks
Lawn Fawn Glue Tube
Bossy Joscie Crafty Goods Handcrafted By personalized stamp
Tonic Tangerine machine


Here is the inside of the card. I used two colors of Lawn Fawn inks for the sentiment and die cut out the panel using Lawn Fawn's Stitched Rectangle.

This is the challenge that I am entering this card into. It is such a fun challenge - you should check out all the amazing design team cards too. They are awesome!

Thanks so much for checking out my card. I really hope my friend likes her birthday card. It was fun to make. INAL CLOSURE

Thanks for stopping by. Have a magical day!

-Chris

Sparkle N Sprinkle compensated links are used when possible.

Sunday, March 17, 2019

Kristina's Crafty Cruise (Pirates of the) Caribbean card

Hi! Today's card is another card for the current Lawn Fawnatics Challenge: Inspired by a Book, Movie, or Song. This card is inspired by the Pirates of the Caribbean. I made this card for the (AMAZING!) Kristina Werner, who organized Kristina's Crafty Cruise 2019. I attended this cruise, and it was fantastic! We cruised through the Caribbean, thus, this card.

Supply List:
Lawn Fawn Ahoy Matey stamp set
Lawn Fawn Life is Good stamp set
Lawn Fawn Bannerific stamp set (retired)
Lawn Fawn Raspberry ink
Lawn Fawn Scalloped Box Card Pop-up die
Lawn Fawn Jet Black ink
Lawn Fawn Glue Tube adhesive
Lawn Fawn Perfectly Plaid Spring petite paper pack
Bossy Joscie Crafty Goods Handcrafted By personalized stamp
Nuvo Smooth Precision Glue Pen
Tonic Tangerine machine


Another angle of the card.

A front / bottom part.

The other side.

And, the sweet parrot and his treasure.

This cruise was amazing - my first cruise ever. Kristina was incredible, so sweet and nice, and I can't wait to cruise with her and all my new besties again, in 2020.

Thanks for stopping by. Have a magical day!

-Chris

Sparkle N Sprinkle compensated links are used when possible.

Dad's "The Jerk" Birthday Card

Hi! Today's card is a birthday card for my Dad. One of his favorite movies is "The Jerk" with Steve Martin. And right now, Lawn Fawnatics Challenge is to make a card inspired by a Book, Movie, or Song. Thus, this birthday card for Dad! I hope he likes it ... and gets it. Let's check out the card.

Supply List:
Lawn Fawn Peekaboo Backdrop die
Lawn Fawn Jet Black ink
Lawn Fawn Fake Tan ink
Lawn Fawn Moonstone ink
Lawn Fawn Raspberry ink
Lawn Fawn Artichoke ink
Lawn Fawn Dad's Day stamp set (retired)
Lawn Fawn Rub a Dub Dub stamp set
Lawn Fawn Bicycle Built for Two stamp set
Lawn Fawn Coaster Critters stamp set
Lawn Fawn Admit One stamp set (retired)
Lawn Fawn Puffy Cloud Borders die
Lawn Fawn Clarks ABCs stamp set (retired)
Lawn Fawn Stitched Rectangle die
Lawn Big Scripty Words stamp set
Lawn Fawn Year Three stamp set
Bossy Joscie Crafty Goods Handcrafted By personalized stamp


My plan was to create a few memorable scenes from the movie. I started by cutting out a panel using the Peekaboo Backdrop die. Then, I created little vignettes inside each panel. The first one is a memorable sentiment. Remember towards the end, when Navin R Johnson is walking around, saying, "All I need is ... " and he picks up some things? And keeps grabbing other random stuff he sees? This scene cracks me up! I stamped out that part of the sentiment using the (retired) Clark's ABCs stamp set.

One of the things that Navin R Johnson says is he needs this chair. He picks it up and carries it around as he grabs a paddle ball and other things. I didn't have a chair the right size, so I used the lounge chair in the retired Dad's Day stamp set, and stamped it with Fake Tan ink since the chair is kinda orange in that scene in the movie.

And, remember the scene when he is in the bathtub, with his dog (I can't say the real name here, but in the censored version, his name is "Stupid"), and he is spouting his feelings out to his girlfriend? Welp, had to capture that scene too! I used the boy and dog from Bicycle Built for Two, and the bubble bath, tub, and bubbles from Rub a Dub Dub.

And, Navin R Johnson ends up working in a carnival. He has to engineer the kiddie train and he hates every second of it. I used the ferris wheel from Admit One (retired), the boy from Bicycle Built for Two, and the trains from Coaster Critters.

For the inside, I used Big Scripty Words and Clark's ABCs for the sentiment, and stamped them using Jet Black, Raspberry, and Artichoke inks. I also stamped the cake and slice from Year Three and colored them to look like chocolate cake, my Dad's favorite cake flavor.

I hope Dad gets this, and figures out it is an homage to "The Jerk" ... and that I don't think HE is a jerk! Hahaha.

Thanks for stopping by. Have a magical day!

-Chris

Sparkle N Sprinkle compensated links are used when possible.

Monday, January 14, 2019

Ahoy, Matey Interactive Birthday Card

Hi! Today's card was so much fun to make! I made this for my good friend who is young at heart. I figured this would make him chuckle, and it is interactive, which makes it even more fun. I used Lawn Fawn's Ahoy, Matey stamp set, and used the matching lawn cuts too. I also used the new Lawn Fawn Let's Toast Pull Tab Add-On interactive slider die too ... you will get to see what appears further below! Let's check out this card.

Supply List:
Lawn Fawn Ahoy, Matey stamp set
Lawn Fawn Ahoy, Matey lawn cuts
Lawn Fawn Let's Toast Pull Tab Add-On
Sparkle N Sprinkle Sparkle embossing powder
Lawn Fawn Jet Black ink
Memento Tuxedo Black ink
Versamark ink
Gina K Design inks
Anti Static Bag
Versafine Onyx Black ink
Copic markers
Distress inks
Bossy Joscie Crafty Goods Handcrafted By personalized stamp
Nuvo Smooth Precision Glue Pen
Tonic Tangerine machine


I started by stamping out the images, using my Tim Holtz Stamp Platform, and Lawn Fawn's Jet Black ink, a Copic-friendly ink. I colored the images, and then replaced them back inside the stamp platform and inked them up with Versafine Black Onyx ink, and then sprinkled on Sparkle N Sprinkle's Sparkle embossing powder, and heat set them. I then die cut out the images using the matching lawn cuts (dies). I also stamped some of the stamp set images, with brown ink, onto cardstock panels. Then, I cut the edges of the cardstock panels to make the edges look distressed and "old map-like" and then blended some brown distress ink to the edges. I also spritzed a bit of water onto the cardstock panels, and then blotted the water drops away to give some more distressing and texturing to the background cardstock panels. I figured out where I wanted to place my images, and the slider surprise element, and then die cut the slider mechanism and die cut the "slit" portion onto the cardstock background panel. I attached everything together, and my slider was ready!

I die cut the "arrow pull tab" and colored it with blue Copic marker and attached it to the edge of the pull tab mechanism. Here is what happens, when you pull up on the pull tab ... the treasure slides out from behind the palm trees! So much fun!!!

For the inside, I stamped out some sentiments using a Gina K Design ink, and then stamped it again with Versamark ink, and sprinkled on more Sparkle embossing powder and heat set it. I layered it inside the card, and this card was done!

I really enjoyed this card - I like how it turned out, and the interactive piece makes me smile. I hope the birthday boy enjoys his card.

Thanks for stopping by. Have a magical day!

-Chris

Sparkle N Sprinkle compensated links are used when possible.

Friday, January 11, 2019

Fairy Godmother Thanks card

Hello! Today's card is a thank you card that I made for my "fairy godmother" ... I have a work colleague that gives me advice and supports me on a project, and I call him my Fairy Godmother! This card is for him. Let's check it out.

Supply List:
Impression Obsession Free Spirit Dot Solid background stamp
Heartfelt Creations Classic Rose stamp set
Heartfelt Creations Classic Rose dies
Heartfelt Creations 3D Rose Shaping Mold
Birch Press Design Big Thanks Sugar Script die
Lawn Fawn Fairy Friends stamp set
Lawn Fawn Jet Black ink
Copic markers
assorted inks
Dries Clear adhesive
Bossy Joscie Crafty Goods Handcrafted By personalized stamp
Tonic Tangerine machine


I inked up the Impression Obsession Free Spirit Dot Solid background stamp, and stamped it onto a card panel. I didn't make it a solid ink color, to give the background a bit of softness. I stamped out Heartfelt Creations Classic Rose stamps onto colored cardstock with colored inks, and then die cut them using the matching Classic Rose dies. I then shaped them in the 3D Classic Rose Shaping Mold (a MUST HAVE!, these make the flower petals shape so well!), and layered the flowers and adhered them with Dries Clear glue, and adhered them to the front of the card. I die cut out the Birch Press Design Big Thanks Sugar Script die sentiment (with white cardstock) and background (with black cardstock). I layered them together, and swiped some Nuvo Aqua Shimmer Glitter Gloss onto the sentiment to give it some extra sparkle! This photo shows the sparkle, but it is really hard to capture on camera, and is much more shimmery in person.

Because this is for my Fairy Godmother, I had to put a fairy in the card! Lawn Fawn's Fairy Friends stamp set was perfect for this! I stamped a fairy, her wand, some sparkles, and a sentiment, all from the Fairy Friends stamp set, using Lawn Fawn's Jet Black ink, on a card panel inside the card. I colored the fairy with Copic markers and added some dress dots with a white gel pen. I dabbed a teeny bit of Nuvo Aqua Shimmer Glitter Gloss pen inside each of the sparkles.

Here is a close up of the fairy. I also swiped some gold ink around the edges of the card panel too, to give it a little bit something extra.

My Fairy Godmother gives me awesome advice and helps me out quite a bit. I really appreciate his advice and help. Thank you, Mike! I hope you enjoyed this card and appreciate all those special people in your life that give you a boost in life.

Thanks for stopping by. Have a magical day!

-Chris

Sparkle N Sprinkle compensated links are used when possible.

Wednesday, January 9, 2019

Rabbit Garden Frenzy card

Hi! My card today is a thank you card using Lawn Fawn's Some Bunny stamp set and lawn cuts (matching dies). This card is also perfect for the current Lawn Fawnatics Challenge Happy Little Critters so I am entering it there too!

Supply List:
Lawn Fawn Some Bunny stamp set
Lawn Fawn Some Bunny lawn cuts
Lawn Fawn Double Slider Surprise die
Lawn Fawn Stitched Hillside Borders die
Lawn Fawn Grand Greetings stamp set (retired)
Lawn Fawn Perfectly Plaid Chill Petite Paper Pack
Lawn Fawn Jet Black ink
Sparkle N Sprinkle Sparkle embossing powder
Copic markers
Distress inks
Tim Holtz Distress sprayer
Anti Static Bag
Versafine Onyx Black ink
Bossy Joscie Crafty Goods Handcrafted By personalized stamp
Nuvo Aqua Shimmer Glitter Gloss Pen
Tonic Tangerine machine


I used Lawn Fawn's Double Slider Surprise die to make this card interactive and fun! I started by stamping out all the images with Lawn Fawn Jet Black ink, which is a Copic friendly ink. I colored all the images and then put them back in the Stamp Platform, and stamped the images again, using Versafine Onyx Black ink. Then, I sprinkled on Sparkle N Sprinkle's Sparkle embossing powder and heat set them. I die cut them out using Lawn Fawn's Some Bunny lawn cuts and my Tonic Tangerine die cutting machine. I also die cut out the panels of the Double Slider Surprise die set and then blended Distress Inks onto them and spritzed them with water using the Distress Sprayer. I blotted off the water splotches, and ended up with a nicely textured background! I did the same for the hillside borders - I ink blended them, spritzed them, then die cut them and layered them up to create the ground and garden area.

I assembled the Double Slider Surprise, following the directions in Kelly Marie's reveal video (which are so helpful!) and layered the slider card over a panel of Chill Plaid, layered over a yellow card base. Here is a photo of the card with the sliders pulled out.

This photo shows the Sparkle embossing powder for the images, and the shimmer from the Nuvo Aqua Shimmer Glitter Gloss pen. I also added some white highlights with a white gel pen.

And here is the other side of the slider, that cute bunny gardener!!

I made this as a Thank You card, and stamped out a sentiment from the (unfortunately) retired Grand Greetings stamp set from Lawn Fawn. I also stamped some sparkles in that stamp set along the bottom for a little extra fun.

I had a lot of fun with this card and I love how it turned out! Those bunnies make me happy. I love this stamp set! Well done Kelly Marie and Erica!!

Thanks for stopping by. Have a magical day!

-Chris

Sparkle N Sprinkle compensated links are used when possible.

Sunday, December 30, 2018

Sparkly Unicorn Birthday card

Happy day! I made this magical unicorn card for my niece's birthday. She likes horses, and her favorite color is blue. So, I made a blue magical unicorn :) Let's peek at the card, shall we?

Supply List:
Pinkfresh Studio Magical Unicorn stamp set
Pinkfresh Studio Magical Unicorn die set
Lawn Fawn Moonstone ink
Sparkle N Sprinkle Royal Blue embossing powder
Sparkle N Sprinkle Sparkle embossing powder
Nuvo Aqua Shimmer Glitter Gloss pen
Lawn Fawn Gift Card Pop-Up lawn cut
Versamark ink [VM-001]
Anti Static Bag [99512]
Versafine Onyx Black ink [VF-82]
Nuvo Deluxe Adhesive [200N]
Nuvo Smooth Precision Glue Pen [206N]
Tonic Tangerine machine [138e]
Tonic Easy Clean Craft Mat [1514e]


I started out by laying out the die cuts onto a piece of cardstock to "size" where I wanted things to be. Then, I masked off the area that the ears and the face would be with trimmed post-it notes so I didn't stamp in those areas. I then stamped the star cluster from the Magical Unicorn stamp set, using Lawn Fawn's Moonstone ink. I stamped the star clusters all around the background of the card. I also stamped out the unicorn horn with Versamark Ink and sprinkled on Sparkle N Sprinkle Royal Blue embossing powder. I heat set it and then die cut the horn with my Tonic Tangerine die cutting machine. I also die cut the ears, flowers, and leaves with the coordinating dies. I swiped the ears with Versamark ink and sprinkled on Sparkle embossing powder from Sparkle N Sprinkle. I heat set these as well. I layered up the ears, horn, flowers and leaves (which I had also stamped with coordinating ink colors from my stash), and adhered everything down using adhesive and foam adhesives for some dimension. I stamped the eye lashes and sentiment with Black Onyx ink and then sprinkled on more Sparkle embossing powder and heat set it.

I stamped a sentiment inside the card using Versamark ink and sprinkled on more Royal Blue embossing powder and heat set it. Here is a close-up of the inside sentiment.

And, because my niece wants Costco cash cards for her birthday and Christmas (since she is saving up for a very specific camera at Costco), I made a gift card holder using Lawn Fawn's Gift Card Pop-up lawn cut. I adhered the gift card popup to the inside of the card, and slipped in the Costco gift card.

I think she will love this card, I sure hope so. Happy Birthday to my sweet Hannah!

Thanks for stopping by. Have a magical day!

-Chris

Sparkle N Sprinkle compensated links are used when possible.
This blog post first appeared on Sparkle N Sprinkle's blog.

Tuesday, December 25, 2018

Happy Holidays Tags

Hello! I made some holiday tags and I am also entering them into the Lawn Fawnatics Challenge: Wonderful Winter. Let's check out these tags:

Supply List:
Lawn Fawn Say What? Christmas Critters stamp set
Lawn Fawn Say What? Christmas Critters lawn cuts
Lawn Fawn Tag, You're It lawn cuts
Lawn Fawn Perfectly Plaid Chill Petite Paper Pack
Lawn Fawn Stitched Hillside Borders lawn cuts
Lawn Fawn Stitched Rectangles lawn cuts
Lawn Fawn Jet Black ink
Lawn Fawn lawn trimmings
Lawn Fawn patterned paper
Sparkle N Sprinkle Sparkle embossing powder
Sparkle N Sprinkle Super Thick Silver embossing powder
Sparkle N Sprinkle Christmas Green embossing powder
Sparkle N Sprinkle White Detail embossing powder
Nuvo Aqua Shimmer Glitter Gloss Pens
Tonic Tangerine machine


I stamped out the images using my Stamp Platform and Lawn Fawn's Jet Black ink, which is Copic friendly. I colored the images with Copic markers. Then, I placed them back inside the Stamp Platform and stamped them again, with Versafine Onyx Black ink. And then I sprinkled on Sparkle N Sprinkle's Sparkle embossing powder and heat set it. This gave the images a bright black line again. And then I die cut them with the matching lawn cuts and my Tonic Tangerine die cutting machine.

I also die cut some tags using Lawn Fawn's Tag, You're It die for the background. I also die cut some of the papers using Lawn Fawn's Stitched Hillside Borders lawn cuts to give the tag some background and grounding.

I also stamped sentiments on the tags with Versafine Black Onyx ink and sprinkled on Sparkle embossing powder and heat set them.

I swiped my Anti Static Bag on the for the sentiment, placed my Lawn Fawn Say What? Christmas Critters sentiment bubble stamp inside the Stamp Platform, and stamped out the image using Versamark Ink. I sprinkled on Sparkle N Sprinkle's Christmas Green embossing powder. I did a double layer of the embossing powder, and then stamped the sentiment over it, with Versamark ink and sprinkled on Sparkle N Sprinkle's White Detail embossing powder and heat set it. I also sprinkled on some Sparkle N Sprinkle's Super Thick Silver and heat set it from the bottom, for some extra sparkle for the unicorn. I also die cut out a frame with Lawn Fawn's patterned paper, using the Tag, You're It tag lawn cut, and put a Stitched Rectangle inside to create the frame. I tied up all the tags with some Lawn Fawn lawn trimmings from my stash. I also swiped some Nuvo Aqua Shimmer Pen on the images.

These are such fun tags. I used them for some gifties for my co-workers and they really make me happy! Happy Holidays to you and yours.

Thanks for stopping by. Have a magical day!

-Chris

Sparkle N Sprinkle compensated links are used when possible.

Sunday, December 16, 2018

Simply Celebrate Winter card set

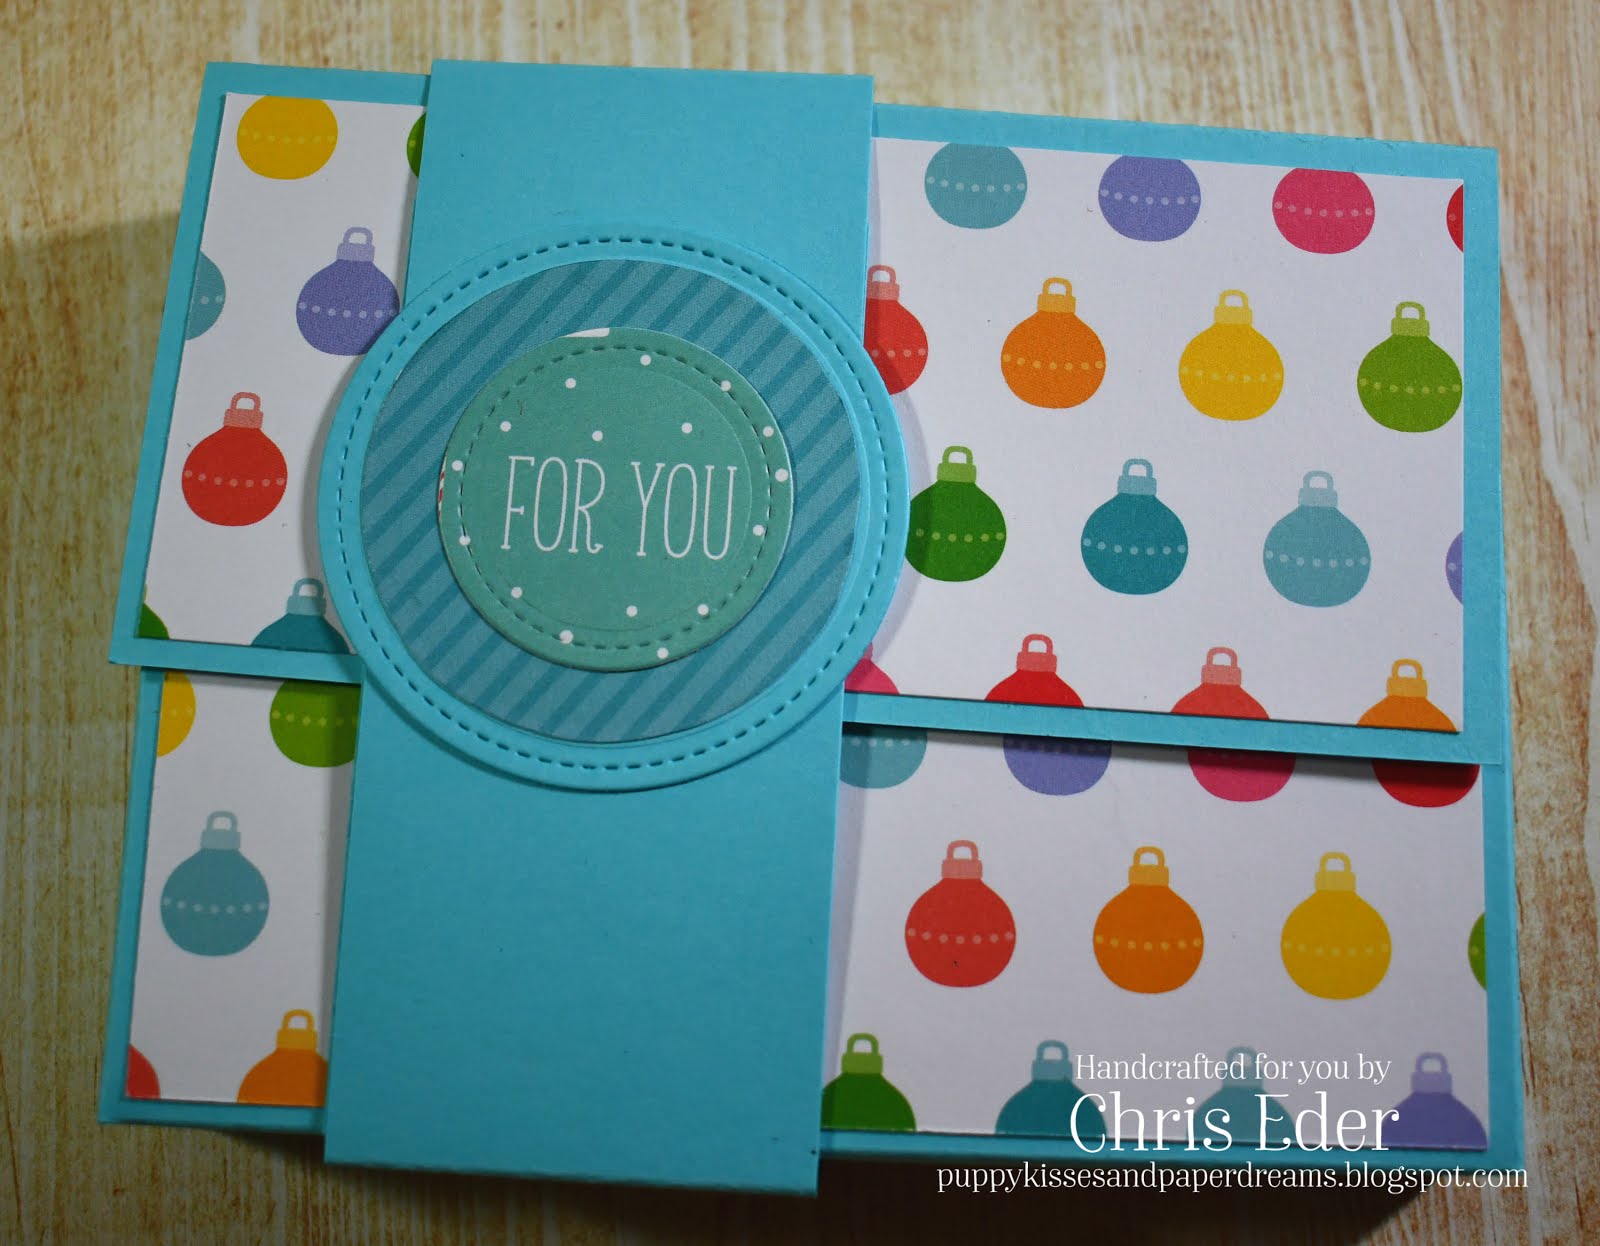
I made a set of cards, using Lawn Fawn's Simply Celebrate Winter stamp set and matching lawn cut dies. I also used Stitched Rectangles and Lawn Fawn's Really Rainbow Christmas patterned papers.

Supply List:
Lawn Fawn Simply Celebrate Winter stamp set
Lawn Fawn Simply Celebrate Winter lawn cuts
Lawn Fawn Really Rainbow Christmas patterned papers
Lawn Fawn Large Stitched Rectangle Stackables lawn cuts
Lawn Fawn Toboggan Together stamp set
Lawn Fawn Trim the Tree stamp set
Lawn Fawn Say What? Christmas Critters stamp set
Lawn Fawn Cozy Christmas stamp set
Lawn Fawn Winter Scripty Sayings stamp set
Lawn Fawn Sweet Christmas stamp set
Copic markers
Nuvo Aqua Shimmer Glitter Gloss Pens
Lawn Fawn Jet Black Ink Pad
Tonic Tim Holtz Stamp Platform [1707e]
Tonic Tangerine machine [138e]
Tonic Easy Clean Craft Mat [1514e]


I stamped out the Simply Celebrate Winter images using my Tim Holtz Stamp Platform, and Lawn Fawn's Jet Black ink, which is a Copic friendly ink. I colored the images using a rainbow assortment of Copic markers. Overall, I kept the coloring simple (without shading) and colored everything in rainbow order. I used the Simply Celebrate Winter lawn cuts and my Tonic Tangerine machine to die cut out each image. I popped them up with foam dimensionals and adhered them to white cardstock that I die cut with the Lawn Fawn Large Stitched Rectangle Stackables. I matted each rectangle with a coordinating color of solid cardstock, and layered this onto assorted Lawn Fawn's Really Rainbow Christmas patterned paper, in the 12x12 size. I layered these onto a cardbase, and the cards were done! Super easy and fun to whip these out!

Here is a close up of the ornament strip. I used a lot of Lawn Fawn stamp sets (see above) to stamp out sentiments on each card panel. I stamped these in the Lawn Fawn Jet Black ink as well. And, I covered certain parts of each image with Nuvo Aqua Shimmer Glitter Gloss pens to make those parts sparkle!

Here is the row of the houses. LOVE them! I sparkled up the snow on the roofs and the doors and windows.

These sweet snowmen are so cute! I used rainbow colors for their scarves and ear muffs. So sweet!

And, here is the box I made. I created a belly band and used more Lawn Fawn patterned paper from my stash.

I am also entering these into the Lawn Fawnatics Winter Holiday card challenge. These were really fun to make, and they actually came together pretty quickly.

Thanks for stopping by. Have a magical day!

-Chris

Sparkle N Sprinkle compensated links are used when possible.
This blog post first appeared on Sparkle N Sprinkle's blog.

Sunday, December 2, 2018

Star Shaped Cards

I made these star-shaped cards, perfect for the current Lawn Fawnatics Challenge 41 - Shaped Cards. Let's check out these cards!


I used Lawn Fawn's Fairy Friends stamp set. I stamped the images with my Tim Holtz Stamp Platform, and Memento Tuxedo Black ink, a Copic friendly ink. I colored my images with Copic markers, and then put them back into the Stamp Platform, and stamped them again with Versafine Onyx Black. I sprinkled on Sparkle N Sprinkle's Sparkle embossing powder and heat set it. This is one of my favorite ways of being able to color with Copics with a Copic friendly ink, and then ending up with a good solid black outline that is embossed! The key is the stamp positioner. Over-stamping is a breeze! I squeezed on some Dries Clear glue to a few strategic locations, like the wings, and sprinkled on some Sparkling Snow glitter from Sparkle N Sprinkle. I die cut some stars using Lawn Fawn's Puffy Star Stackables dies, using my Tonic Tangerine.

I also die cut out some clouds using Lawn Fawn's Puffy Cloud Borders from vellum and cream cardstock. I layered these all up, and squeezed on some more adhesive and sprinkled more glitter.

And, I used my NEW "made by" stamp that I purchased from Bossy Joscie Crafty Goods. I LOVE it! She does custom and personalized stamps, and a lot of other great things! She also created an electronic image for me that are on each photo. Thank you so much Joscie!!

I think these sweet Star shaped cards are so cute, and will look good adoring the gifties.

Thanks for stopping by. Have a magical day!

-Chris

Sparkle N Sprinkle compensated links are used when possible.
This blog post first appeared on Sparkle N Sprinkle's blog.

Bridge Fold Thanks Card

Hi! This card is a Thank You for our dog and house sitter. I did a Bridge Shape card, since the latest Lawn Fawnatics Challenge is Shaped Cards. I stamped out the house from Lawn Fawn's Happy Haunting, I stamped two pups and the tree from the Critters in the 'Burbs. Here is the card.

I wanted some dimension for the card, and found the bridge card design on the internets. I cut and scored my card base. I added in the patterned paper panels using Lawn Fawn's Knit Picky Fall Petite Paper Pack. I also die cut the green paper using the Grassy Border die. I also stamped out the thank you sentiment using the Grand Greetings (retired) stamp set and Versafine Black Onyx Ink. I sprinkled on Sparkle N Sprinkle's Sparkle embossing powder and heat set it. Then, I die cut it with Lawn Fawn's Everyday Sentiment Banners. Then, I layered the sentiment over a card panel strip, and attached it to the front of the card. This panel holds the card in the bridge shape.

And, this card can be flatted to mail and fits perfectly inside an envelope!

This was a fun card to make. I really like this shape and think I will do more in the future!

Thanks for stopping by. Have a magical day!

-Chris

Sparkle N Sprinkle compensated links are used when possible.
This blog post first appeared on Sparkle N Sprinkle's blog.